Friday, September 7, 2012

Banana S'mores

Hello everyone! Hope everyone is having a great Friday and making plans for a fantastic weekend! I worked on the beach this morning doing turtle nesting work and when I came home, I was so tired. I wanted to relax and curl up with some delicious, comforting food. Unfortunately, that's not what I got.

My roommate has been bugging me for a while to make this Banana S'mores recipe, so I decided tonight would be a good night since it's a really simple recipe. I had most of the ingredients, I just had to buy the mini marshmallows so it was quick to get my stuff together as well!


Banana S'mores

Website: http://quick-dish.tablespoon.com/2011/08/24/grilled-chocolate-banana-melts/

This recipe is supposed to be grilled, but the great thing is that they give you a guide on how to cook them if you don't have a grill; you simply set your oven to 400 degrees Fahrenheit. The great thing about this recipe is it seriously takes about two minutes to prepare. So, without further ado, let's get this recipe started.

Grab all of your ingredients first

Cut your banana right down the middle and open it up a bit.

Load it up with noms!!


Before you wrap your s'mores banana up, spray the aluminum foil with Pam. The recipe didn't say this, but it will make your life a million times easier when it comes time to take it out of the foil. Wrap your banana up, making sure that your foil doesn't touch your ingredients.

Pop these babies in the oven at 400 degrees
 The recipe said that these only had to cook for 5 minutes at 400 degrees, but when I took them out of the oven after 5 minutes, they weren't completely melted. So, I vented the foil a bit so the marshmallow would toast and put it back in the oven for another 4 minutes. I would suggest cooking yours anywhere from 8-10 minutes.

It's lookin' good, just missing one ingredient...

Graham crackers!!! 

We put our graham crackers in a bag and crushed them with a meat tenderizer (but you could always use a sturdy bottle if you need to ). Make sure to put them in a ziploc bag so you don't get crumbs everywhere!


We put a half of a graham cracker on each of our bananas.


After these came out of the oven, we were so excited that we could barely contain ourselves! We grabbed a couple of forks, dug in, and......they were gross! Well, maybe gross isn't the word for it; a better term might be weird. Something about the whole mixture of these ingredients just didn't taste right. We were very disappointed in this dish since it seems to be all the rage on Pinterest. I suppose if you had kids who don't like their fruit, this might be a suitable way to "disguise" it so they will actually eat it. Otherwise, I wouldn't suggest this recipe; instead, I'd just make a good old fashioned s'more.

Thanks again for stopping by my blog and I hope you enjoyed today's recipe (sorry it was a bust tonight though). Stop by soon to see more recipes that I will be reviewing from Pinterest! Also, don't forget to subscribe to my blog (the link is on the right hand side of this page below the search box. Hope you all have a good weekend!

Thursday, September 6, 2012

Chicken with Balsamic Cream Sauce and Butterbeer Latte!

Hello again everyone! Thanks for visiting my site again and, as promised, I am going to give you a couple of recipes today since I didn't do any yesterday! But first, I'll tell you all about the stranded pilot whales that I was watching over last night.

This past Saturday, 22 pilot whales beached themselves in Fort Pierce, Florida. Harbor Branch Oceanographic Institute responded to the stranding and was able to save four of the whales, all of them juveniles or younger. Harbor Branch has a large pool that the whales were transferred into and were able to swim in comfortably. The whales were very weak so they needed help swimming for the first day or so. They were also fed every 2 hours (a mixture of fish gruel). The whales were under 24-hour observation to make sure that nothing went wrong. The observations included watching their respiration, behavior, and swimming patterns; this was my job.

I observed the whales on a 6-hour shift to make sure everything was going swimmingly (no pun intended). The whales each had their own personality quirks and it was really interesting to watch them. The youngest whale (a young female who was only a few months old) was always cuddling up to the rest of the group and would occasionally make a call, presumably for her mother. The oldest whale would round up the rest of the group and keep them in line if they tried to stray away. The other two loved to try to swim up the stairs of the pool and swim away from the group once in a while.

While I was observing them, Harbor Branch got a call that Sea World was on its way to transport the whales to their facility in Sea World Orlando. The team showed up and they were all very friendly and professional. They transferred the whales one at a time, from oldest to youngest, putting each whale into its own tank in two separate trucks. We were notified earlier today that they were transferred smoothly and safely and they're all swimming happily in their pod. It was really great to work with so many wonderful organizations (Harbor Branch Dolphin Rescue, Marine Mammal Conservation, Sea World Orlando) and I hope I get to work with them more in the future. Here are some pictures of them in their new home: 


Ok, now let's get down to business (but not to defeat the Huns). So, I picked two recipes that I've been wanting to try for a while. The first one is a butterbeer latte (I know, I was freaking out too) and the second is a chicken dish served with a balsamic cream sauce.


Butterbeer Latte

Website: http://www.thatsnerdalicious.com/recipes/how-to-make-a-butterbeer-latte-recipes/

In case you didn't know, I am a big (and I mean BIG) Harry Potter nerd. I love the books, movies, merchandise, actors, theme park, author, etc. So when I see something that is related to the Harry Potter series, I jump at the opportunity to make it. When I saw this, it had my name written all over it. I just wish it was cold out so I could sit outside and enjoy the weather with a nice hot mug of butterbeer, but c'est la vie. Since I couldn't contain my excitement any longer, I got all of my ingredients together and got started.


This afternoon when I got home from class, I was very tired so I decided I needed a latte. I love Harry Potter and I love butterbeer, so why not mix all of that up into latte goodness? When I was looking over this recipe, I noticed that they used vanilla extract. I tried it that way first and it tasted okay....but I wasn't looking for okay, I was looking for a magical concoction of butterbeer latte! When my friends and I make homemade butterbeer (yes, we actually do this), we use "Butter and Nut flavoring." It's a McCormick brand extract and it's really easy to find; your local grocery store probably carries it. So, for my next latte, I used this.

Lots of butter.....yum!!!


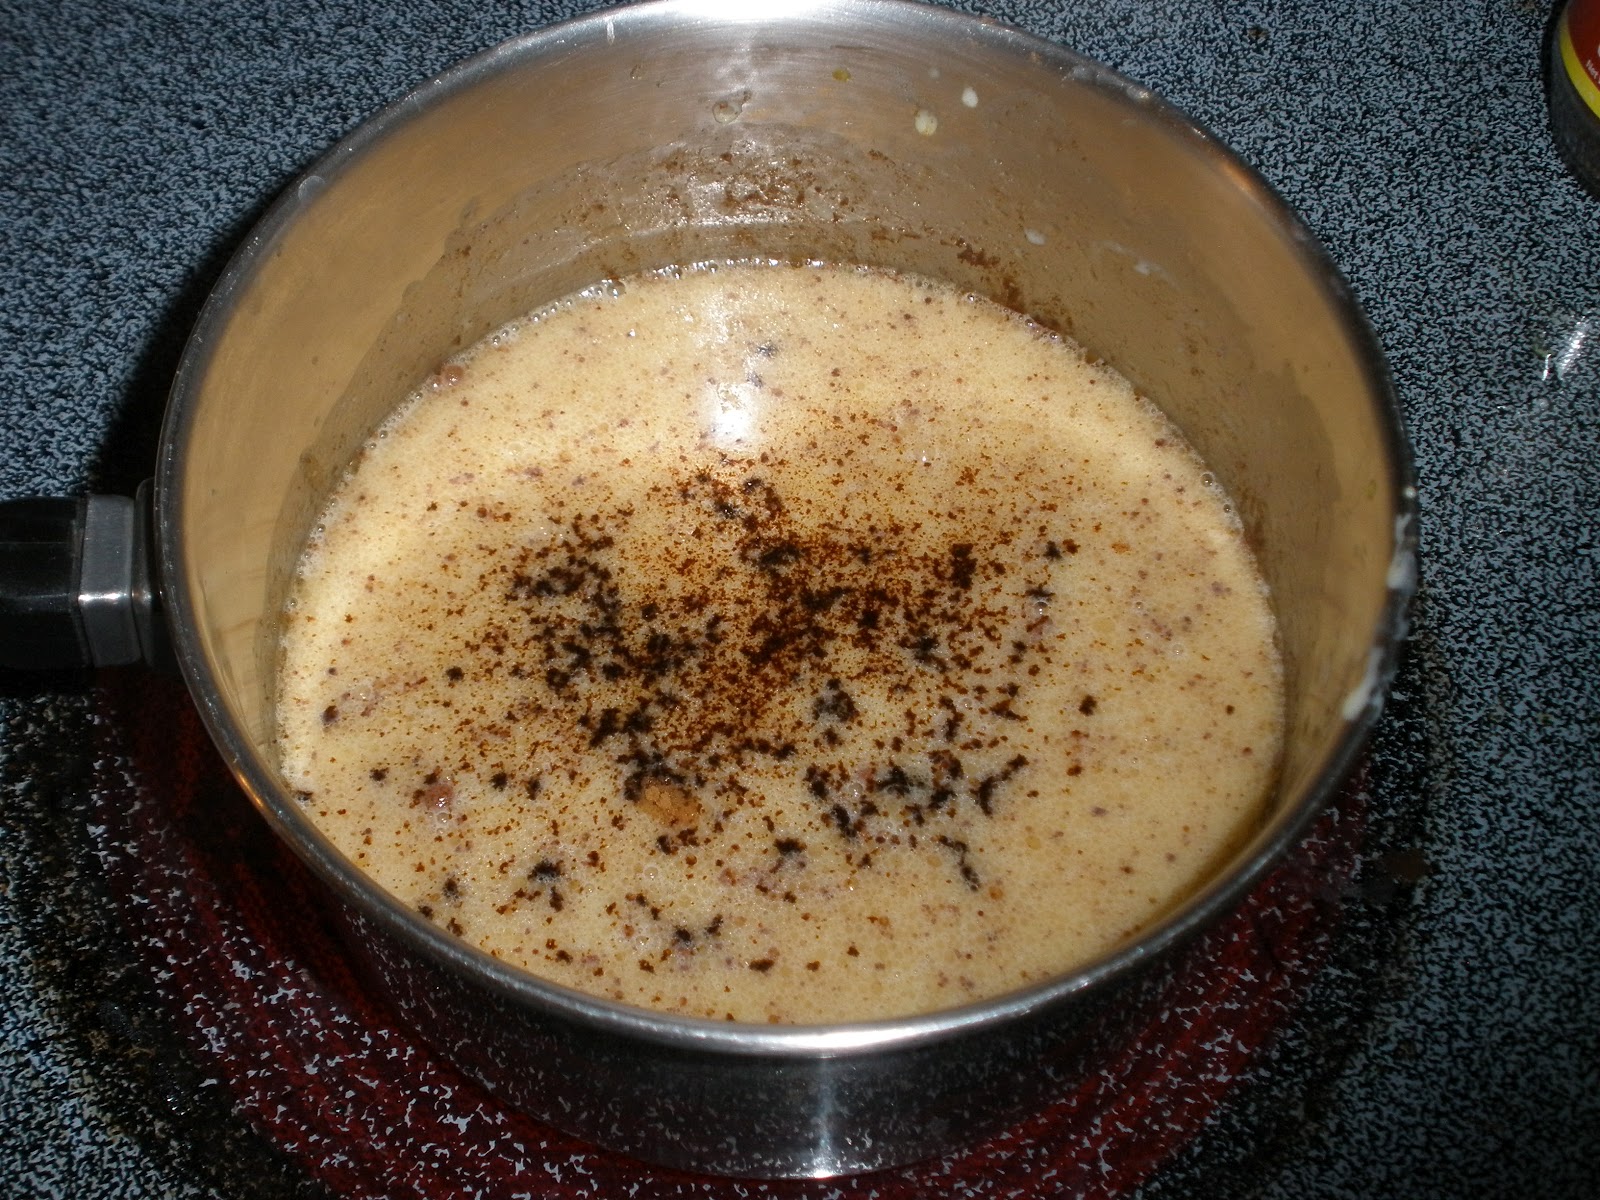
The delicious mixture!

I realized halfway through making this recipe, that this "latte" was an imposter because there was no coffee in it at all!! So, I added a little instant coffee to my mixture (be very careful when you do this because once I added the instant coffee to my pot, it almost instantly boiled over!!). This added a little extra kick to it and made it taste amazing!


So, I absolutely LOVED this drink and I am definitely going to make this again! It was so quick to make which makes it really nice if you're in a rush. I do recommend using the Butter and Nut flavoring though because it really gives it that "magical" touch (pun intended). I also think that this would be really good with some whipped cream on top! :)


Chicken with Balsamic Cream Sauce

Website: http://peaceloveandlowcarb.blogspot.com/2012/01/pan-seared-chicken-with-balsamic-cream.html#.UEissaNvHAB

I absolutely love balsamic vinegar, so I jump at almost any recipe with that as an ingredient. This recipe was actually really easy to prepare and cook. The biggest thing to save money is buy chicken when it's on sale and perhaps buy generic balsamic vinegar. Also, I bought my chicken stock when it was on sale, buy one get one free. I buy mine in a carton instead of a can so that if I don't use it all, I can save it for later and don't have to worry about it spilling. Before I began, I rounded up all of my ingredients (don't forget your mise en place!) and started cooking:


Lots of butter, my kind of recipe!

Lots of onion too...yum!!

The force is strong with these onions... :)
Your onion should be browned like this.
Just brown the chicken first; don't cook it all the way through
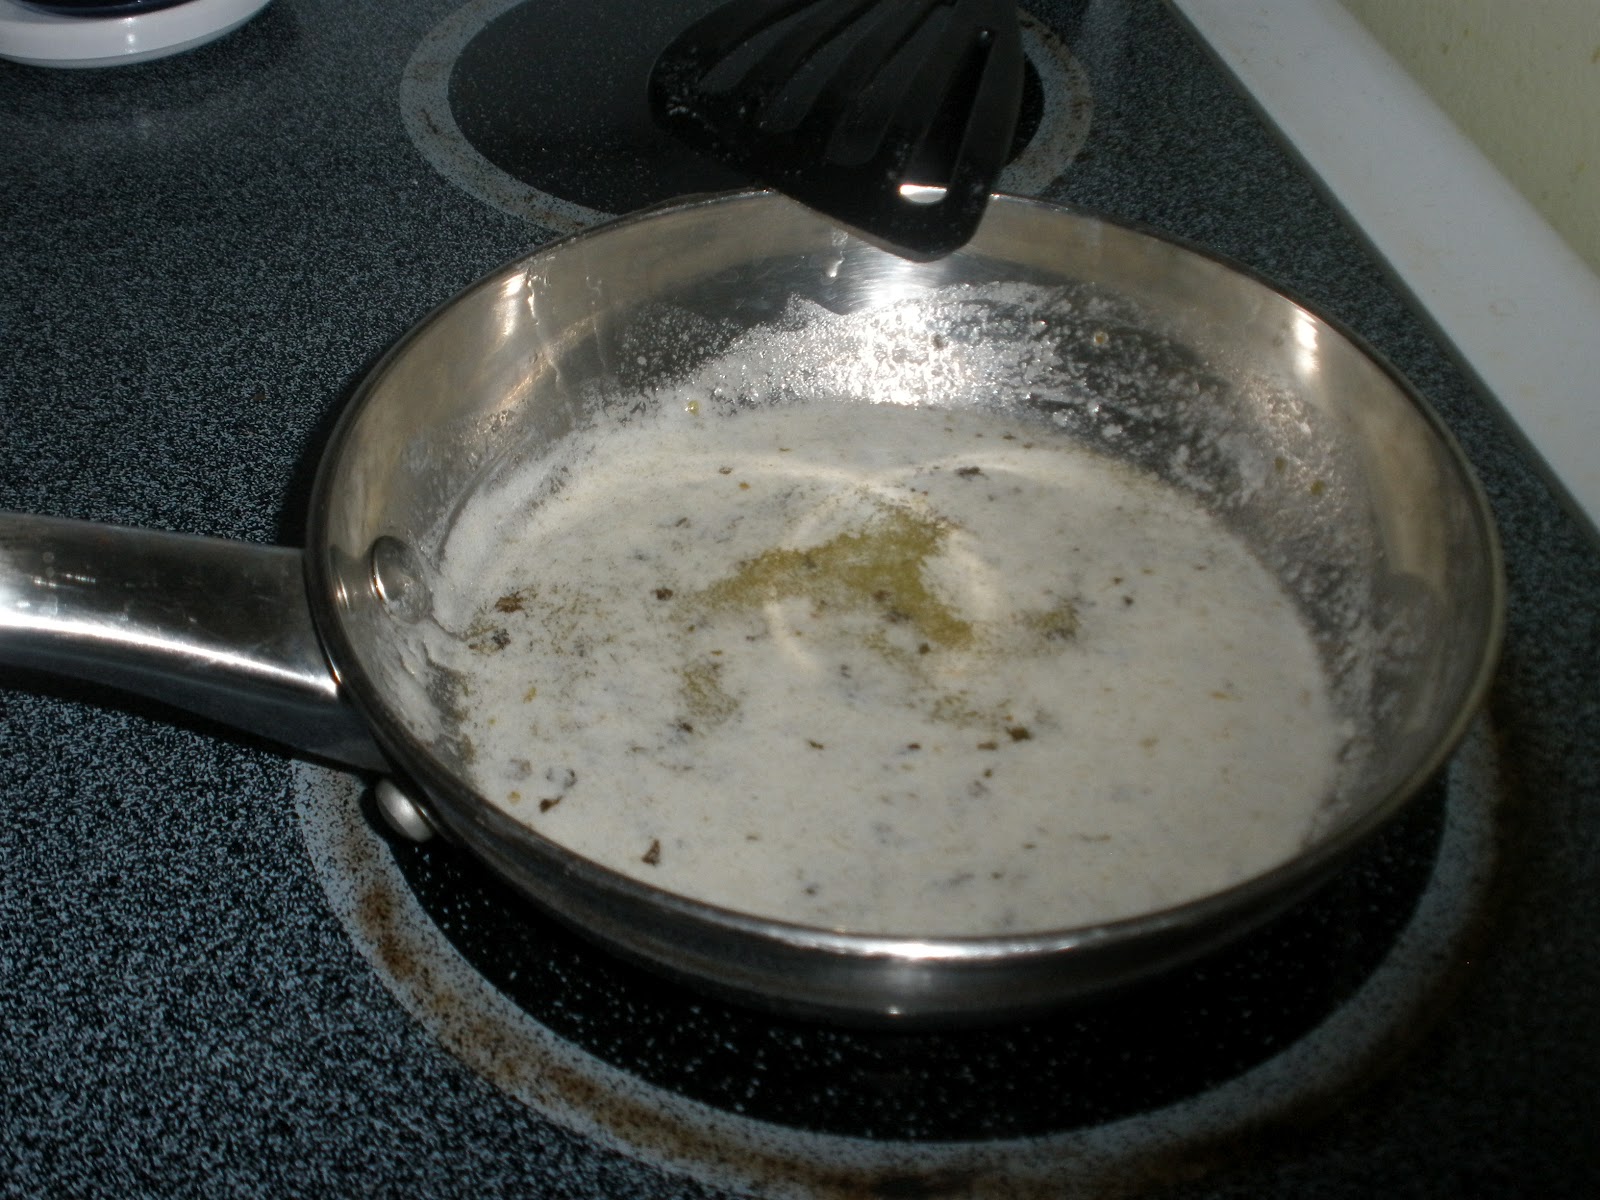
It may look like a pan that will be hard to scrub, but this is perfect for making a delicious sauce!
It looks kind of gross, but it tastes amazing!
Even if you don't like mushrooms (like me), you should add them any way because it gives the sauce a really nice flavor
Put the chicken back in and cook until it is 165 degrees Fahrenheit


So, this recipe turned out really well! It was surprisingly fast and easy to prepare and it looks like you made a really fancy meal haha. My only change to this recipe was that I added an extra tablespoon of balsamic vinegar; it gave it a little extra kick. We scarfed this meal down and I will definitely be making this again in the future!

I hope you all enjoy these recipes and I will definitely keep them coming! If you have any recipe suggestions, feel free to leave me a link in the comments! Also, don't forget to subscribe to my blog so you'll be updated whenever I put up new posts! Come back soon to see more Pinterest recipes!


Tuesday, September 4, 2012

Orange Creamsicle

I'm not sure about the rest of the world, but here in Florida it is ridiculously hot and getting even hotter as the month continues. In my opinion, one of the best ways to cool down is with a nice refreshing drink. And what could be more refreshing than a tall glass of orange creamsicle?

There are a lot of funky creamsicle recipes on Pinterest, some of which sound great, others not so much...I'm somewhat of a purist and like things that remind me of the good old days, so I found a recipe for a good old fashioned orange creamsicle which only has two ingredients: vanilla ice cream and orange soda.

Now, an orange creamsicle is great, but I thought to myself: "How could I make this better?" The only answer I cam up with was alcohol! If you aren't fond of alcohol, feel free to omit this from this recipe, but if you are a fan then enjoy! I decided to use vanilla vodka in this recipe (as opposed to whipped cream vodka) because I thought it would taste better with the vanilla ice cream, but feel free to experiment! :)


Orange Creamsicle Cocktail 

Website: http://valsocal.blogspot.com/search/label/drinks

So, this recipe is super simple and fantastic for a hot day (especially in Florida).  There's really not much to save you time because it takes literally two minutes to whip together (and even less time before you drink it all!). I gathered up all of my ingredients on this sweltering summer day and started making my delicious drink.


The first step is going to be to put in your vanilla ice cream. I like a lot of ice cream, but if not you can put in less. I put in about two full scoops (yum!). 


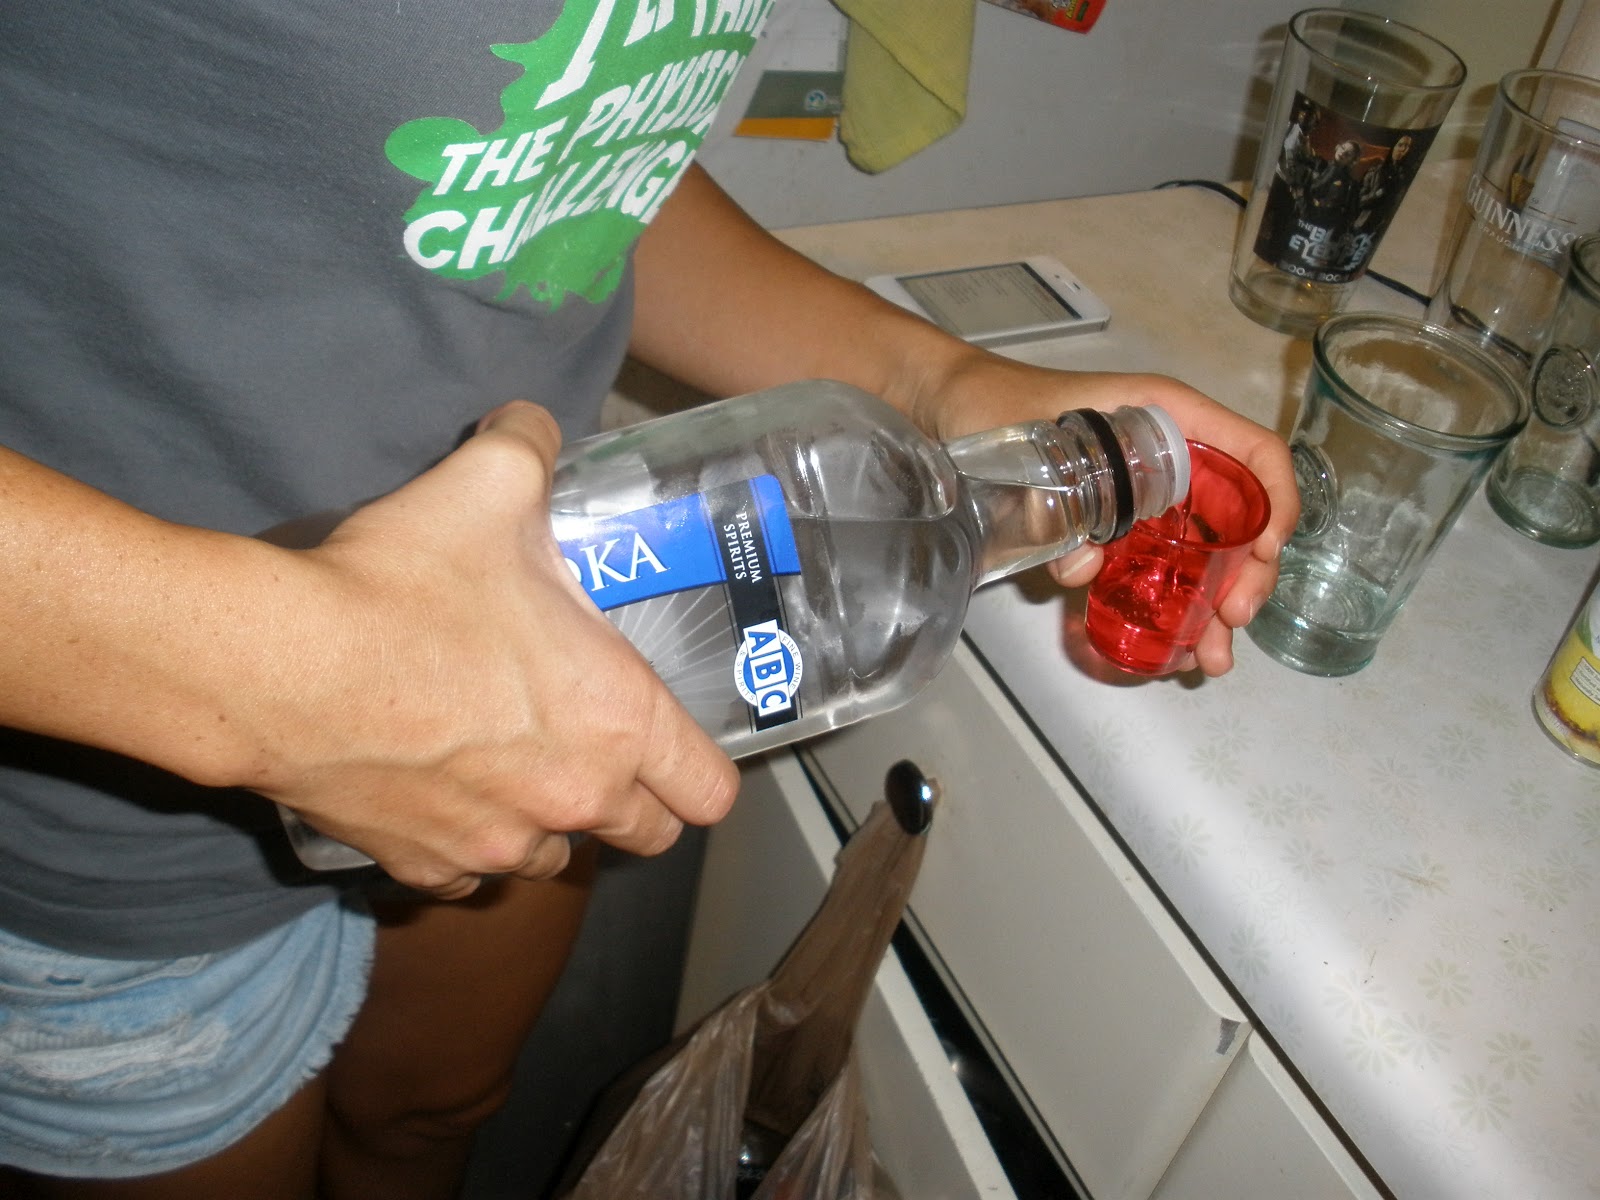
The next step is to add your delicious vanilla vodka.  This is the first time I've ever tried vanilla vodka, but the minute I opened the bottle, I knew I had made the right choice. This vodka smells exactly like vanilla extract and it is so intoxicating that I almost drank it right out of the bottle!


Next, you'll want to add your orange soda. I used Crush, but any orange soda will work. 


After you pour the soda, give your drink a stir (I used a chopstick to stir mine; I keep it classy) and it should start looking pretty tasty!


And no soda (or soda-based) drink is complete without a bendy straw, so make sure to add one! Now go, make yourself one of these amazing drinks, and enjoy the nice (yet swelteringly hot) day. 


Thanks again for reading my blog and I hope you all enjoy the recipes I've been posting. Don't forget that you can leave me a recipe in the comments and I will try it out for you, give you some tips, and (most importantly) let you know how it tastes! Please subscribe to my blog if you like what you're seeing; the button is on the right hand side of this page below the search bar.

Sorry for the short post today everyone, but I have to go up north soon to help take care of some baby Pilot whales which were stranded a few days ago. After that, I have to go do sea turtle nesting work on the beach! It's gonna be a long night, but it should be an exciting one. I promise I will make up for today's short post in my next post, so make sure you stay tuned!

If you would like more information on the stranded Pilot whales, here is a full story about it: http://m.tcpalm.com/news/2012/sep/02/5-juvenile-whales-under-round-the-clock-care-in/

Sunday, September 2, 2012

Garlic Cheesy Bread and Blue Hawaiians

Last night my friends and I decided to get together to cook some food and make some drinks. I firmly believe that you need quality time with friends to ensure that your life is full of happiness and good memories. So last night, that is exactly what we did.

My friends and I watch a TV show called iCarly and in the show, they frequently eat what are called "spaghetti tacos." As the name implies, you take taco shells, put spaghetti in as the filler, and top with mozzarella cheese. When we make it, we do things a little differently. Instead of spaghetti, we use egg noodles (they stay in the shells a little better) and instead of marinara sauce, we use a la vodka sauce (mostly because it's really yummy).

So, we thought to ourselves, what appetizer could we make that would go with our theme? We went to the best resource on the internet if you need a recipe: Pinterest! There, we found an amazing recipe for garlic cheesy bread and we thought: yes, yes, let's do this. After that, we realized we needed a nice drink, so we perused Pinterest yet again and found a nice, simple recipe for a Blue Hawaiian. After we had all of our ingredients together, we started cooking!


Garlic Cheesy Bread

Website: http://www.laurenslatest.com/hasselback-garlic-cheesy-bread/

My biggest problem with this recipe is the fact that this lady wants you to make your own bread from scratch (crazy, right?). It's not that it's a hard process, it's just super time-consuming and in the words of a wise woman:

                                  
 To save time and money,  I just bought a loaf of french bread which worked just as well and only took the time that I spent to drive to the grocery store. Since we won't be making bread from scratch, we will have to alter this recipe a bit.

The first thing you'll need to do is grab your store-bought garlic herb butter and microwave it until it's melted (but be careful not to burn it! It should only need about 20-35 seconds depending on how much butter you put in). Since my grocery store decided to be lame and stop carrying garlic and herb butter, I had to make my own (harsh, right?).

To do this, my friend Beka chopped about 5 cloves of garlic (we like garlic!).

We melted about 3/4 of a stick of butter in a pan on medium-low heat. After the butter is melted, you'll want to reduce the heat to low so it doesn't burn. 


Before I added the garlic, I put in a teaspoon of oregano, a teaspoon of basil, and about half a teaspoon of ground thyme.  I let these herbs simmer for a minute or two before I added the garlic. After a couple minutes, I added the minced garlic and let these simmer in the pan for a few minutes. While the garlic was simmering, I cut slits in the bread with a serrated knife (but not all the way through; make sure the bread is still slightly connected at the bottom).

Once you've done that, turn off the stove and use a pastry brush to dab the butter mixture onto each side of the sliced bread. Don't be scared to spread the butter very generously :)


Leave a little bit of butter in the pan to pour over the top of the bread. The next part is to put cheese slices between each cut of the bread. I used mozzarella cheese because it's delicious and goes well with garlic (and pretty much everything else).  I also folded the slices in half to get the full amount of cheese for each slice!


When you're done putting the cheese slices in, it should look something like this:


Now take that leftover butter and garlic mixture and drizzle it over the top of the bread (believe me, you'll be glad you did).


Since the bread didn't have to cook, I put the bread in the oven on broil. This will allow the cheese to melt, but the bread won't continue to bake (that would make it hard and icky!). Leave it in the oven for about 5 minutes or so (or until the cheese is melted); once it's done broiling, it should look a little like this:


 Looks pretty scrumptious doesn't it? This bread was so delicious I could have eaten a whole loaf all by myself! My friends fell in love with it, so I think I'll probably be making this bread again soon. My only thing is, try to get the pre-made garlic and herb butter; it will save you so much time and make your cooking go a lot quicker.


Blue Hawaiian


We wanted a drink to wash down all of our delicious food, so we decided on a Blue Hawaiian.This is a fun drink and most of the ingredients aren't too hard to find. We decided to omit the sweet and sour mix, but in hindsight, this might have been a good thing to add. This drink is really easy to make and we really only had to buy the vodka and the pineapple juice because we had the rest of the ingredients. So we gathered them all up and got started:


3/4 shot of light rum:


3/4 shot of vodka:


1/2 shot of Blue Curacao (yay, so blue!): 


With the addition of three shots of pineapple juice:


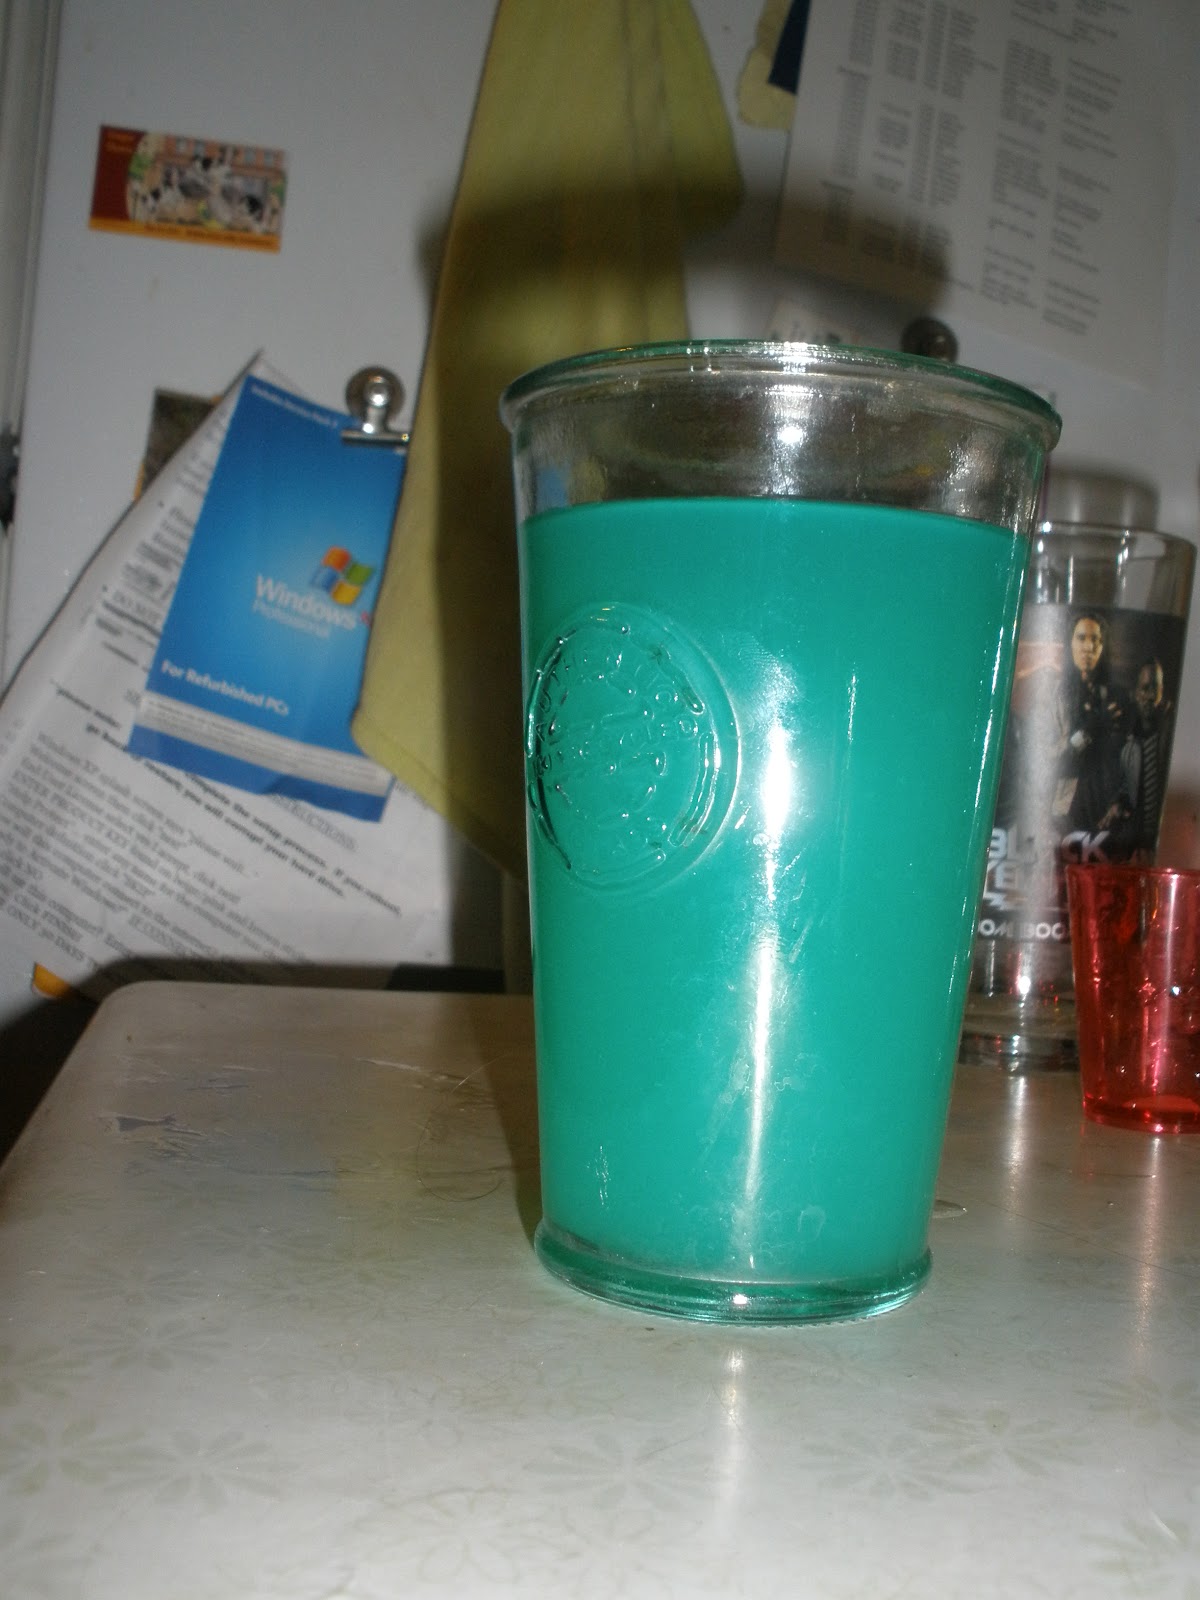
Isn't it pretty? It just reminds you of a tropical island!

This drink was really good, but the pineapple juice was really sweet, which made the drink a bit overwhelming. In the future, I would only add 2 shots of pineapple juice, or maybe add the sweet and sour mix (that might have balanced it out).

All together, it was a nice meal and we all had a great time! All of our food came out great and, although the drink was really sweet, it was quite tasty! I would definitely (DEFINITELY!) recommend making the garlic cheesy bread, mostly because it was so delicious, but also because it was really easy to make. The drink was also tasty, just a bit sweet.

I hope all of you had a great Labor Day weekend and thanks for reading my blog! The subscribe button to my blog is on the right hand side of this page below the search bar and you should totally click it (clicking that button creates good karma for you!). Keep coming to my blog every day for more great (or possibly horrible) recipes that you can recreate!